Transforming Your AirPods Max Lightning to USB-C
The AirPods Max are fantastic headphones, but there's one big issue: they still use the outdated Lightning port. With everything else transitioning to USB-C, it's time to take matters into our own hands. In this video, we've teamed up with Ken from Exploring the Simulation, who provided the mod kit and expertise for this conversion. This is my first time opening up the AirPods Max, so let's dive in together!
Step 1: Removing the AirPods Max Ear Cup
To start, we'll remove the actual ear cup. Use a SIM eject pin, push it in, and then pop off the ear cup. We have the right cup separated, which houses the charging port. This is the cup we'll be working with.
Place the sim ejecter tool in the hole as shown and pull up on the headband.
Step 2: Unscrewing the AirPods Max
Next, we need to unscrew the cup. This isn't as straightforward as it seems. For some screws, you go lefty loosey, righty tighty, and for others, it's the opposite. Carefully unscrew each one as needed.
Source: https://kenp.io/
Step 3: Opening the AirPods Max
Now, we can take a pry tool and lightly get under the edge. Pry from the designated spot to avoid damaging the flex cable on the other side. After prying for a bit, the adhesive will start to give, and the cover will come off.
Be very careful and patient
Step 4: Unscrew and Remove
We need to unscrew the bracket holding the charging port and disconnect the flex cable. Carefully detach the proximity sensor and microphone’s flex cable from the body of the Airpod Max’s. Next, Unscrew the speaker and remove it. Then, unscrew the torque screws holding in the battery and remove it.
Step 5: Removing the Bottom Board
Next, we need to remove the bottom board that connects to the Lightning port. Unscrew the four screws holding the bottom board in place. Disconnect the two flex cables, one for the charging port and one for the bottom microphone. Carefully lift the board and set it aside.
There’s little to no adhesive in the Airpod Max’s
Keep all the parts and screws safe!
Step 6: Removing the Metal Lip
To install the USB-C port, we need to remove the metal lip around the Lightning port. Using a vice clamp, secure the AirPods Max and then carefully hammer out the metal lip. This step can be a bit tricky, but it's essential for creating space for the new USB-C port.
A vice clamp is almost necessary to keep the speaker in place. You can find a solid one here: Vice Clamp
Use a flathead and aim for the lip, any other screwdriver can damage the housing.
Some damage was caused to the port as I used a Philips screwdriver to pop it out, this is why you should use a flathead.
Step 7: Installing the USB-C Mod
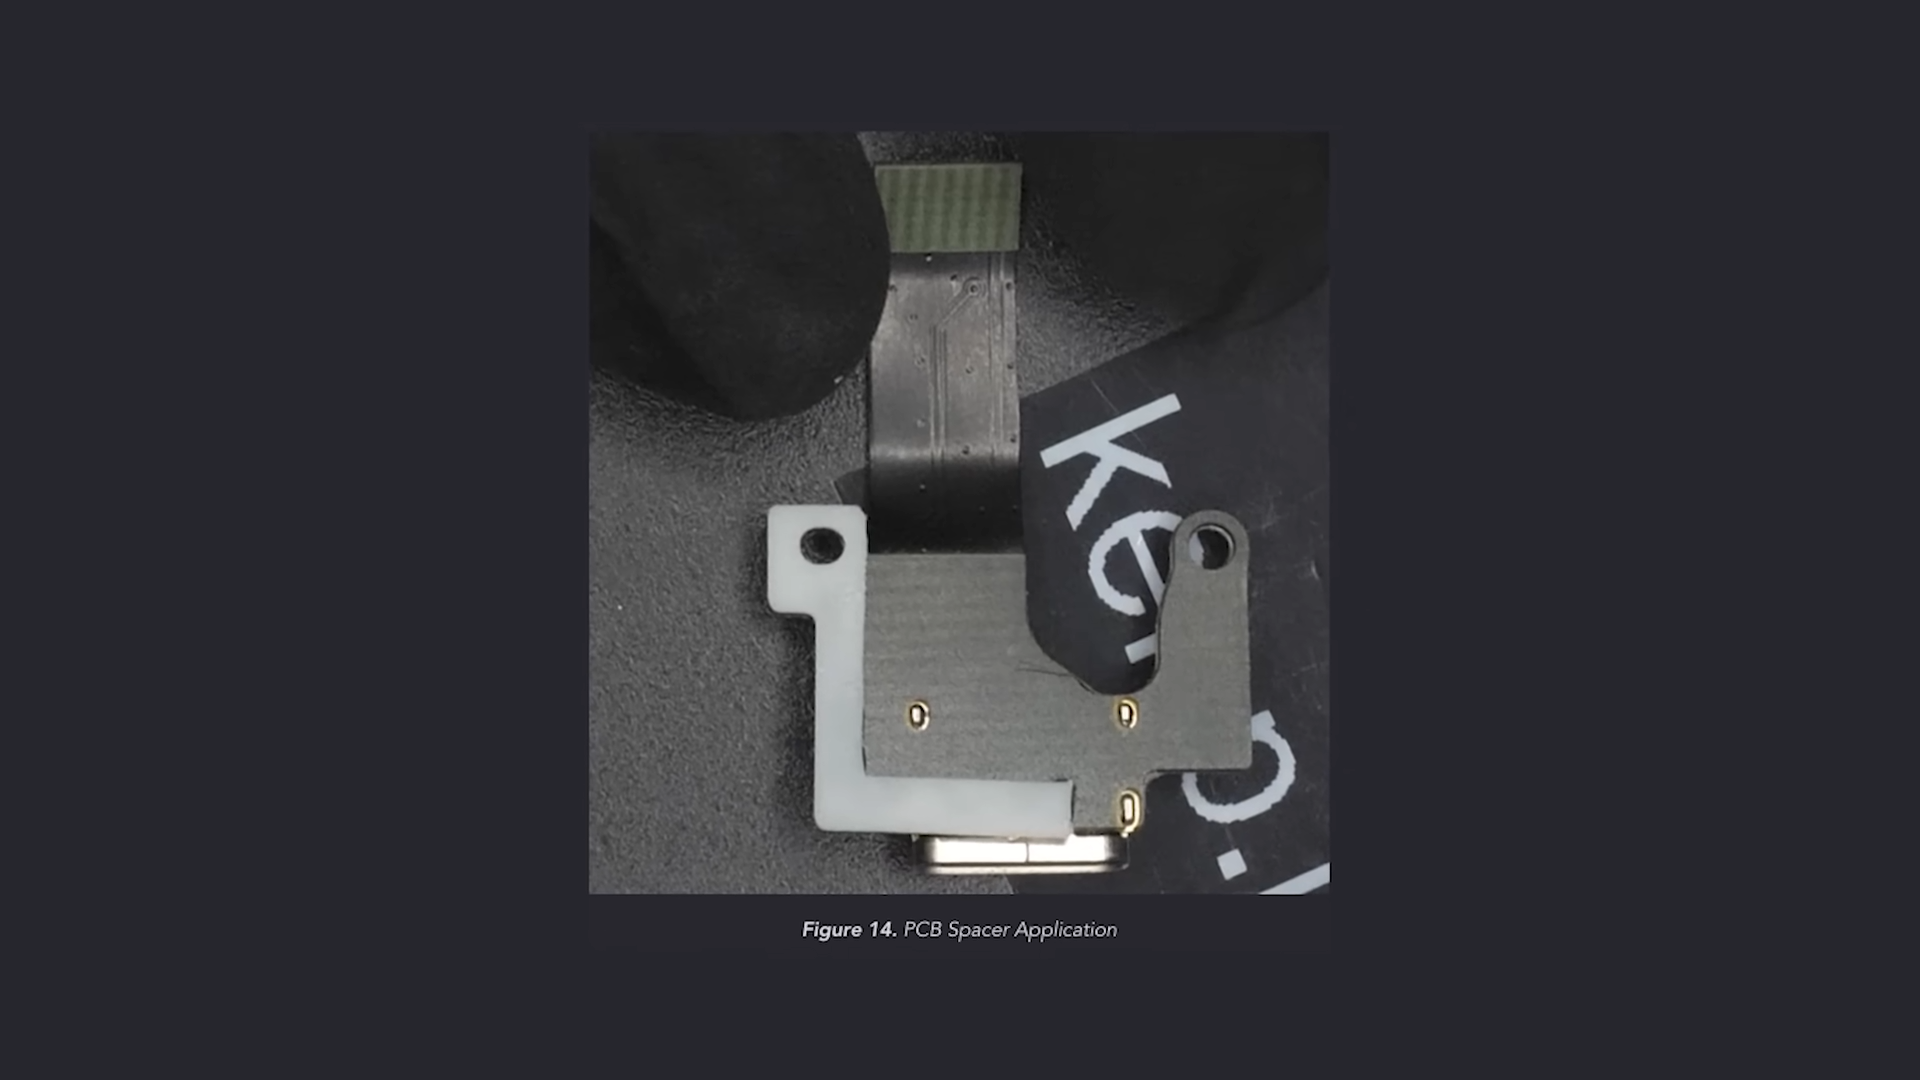
Now, it's time to install the USB-C mod. Unscrew the bracket holding the charging port and disconnect the flex cable. Carefully remove the proximity sensor and microphone. Place the new USB-C port where the old Lightning port was. Ken's mod kit comes with spacers and adhesive to secure everything in place. Follow the instructions closely and carefully to ensure everything is aligned properly.


Step 8: Put Everything Back Together
Now all that’s left to do is put everything back together the same way it came out, and you’re done! You now have USB-C on your AirPods Max thanks to Ken Pillonel’s mod. Please note that this conversion takes away the ability to play wired audio, as it would overcomplicate the switch to USB-C, but that's something most people don’t use anyway


